Hey there! As a supplier of swage terminals, I've seen firsthand how crucial it is to ensure these little guys are properly seated. A well - seated swage terminal can make all the difference in the performance and safety of your cable railing system. So, let's dive into how you can make sure your swage terminal is seated just right.

Understanding Swage Terminals
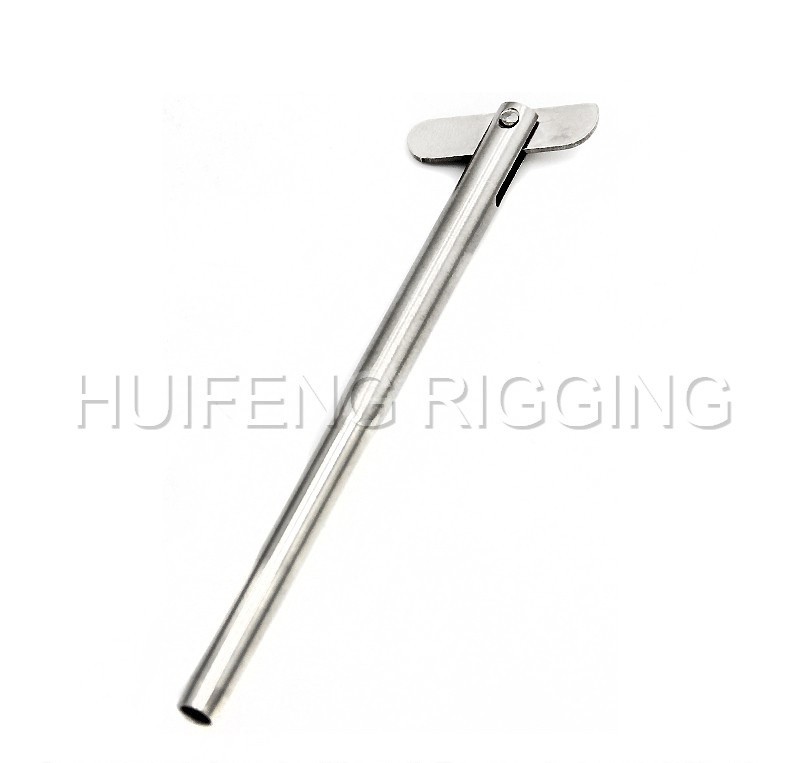
First off, let's talk a bit about what swage terminals are. They're essential components in cable railing systems. You've got different types, like the Dome Head Invisible Receiver And Swage Stud, Swage Eye Terminal, and Drop Pin Swage Stud. Each type has its own unique design and purpose, but they all serve to connect cables securely.
Pre - installation Checks
Before you even think about seating the swage terminal, you need to do some pre - installation checks.
Inspect the Terminal
Take a good look at the swage terminal. Check for any visible damage, like cracks, dents, or rough edges. A damaged terminal won't seat properly and can compromise the entire system. If you find any issues, don't use that terminal. It's better to be safe than sorry.
Check the Cable
The cable you're using is just as important as the terminal. Make sure it's the right size and type for the terminal. Measure the cable diameter accurately. Using the wrong cable can lead to a poor fit and a loose connection. Also, examine the cable for any fraying or kinks. A damaged cable won't work well with the swage terminal.
Proper Tools and Equipment
Using the right tools is key to ensuring a proper seat.
Swaging Tool
You'll need a high - quality swaging tool. There are different types available, like hydraulic and mechanical swaging tools. The hydraulic ones are usually more powerful and can provide a more consistent swage. Make sure the tool is in good working condition. Check the dies for wear and tear. Worn - out dies can result in an uneven swage, which means the terminal won't seat correctly.
Measuring Tools
A good set of measuring tools is also essential. You'll need a caliper to measure the cable diameter and the terminal dimensions accurately. This helps you ensure a proper fit between the cable and the terminal.
The Seating Process
Now, let's get into the actual seating process.
Prepare the Cable
Cut the cable to the right length. Make sure the cut end is clean and straight. You can use a cable cutter for this. Then, deburr the cut end to remove any sharp edges. This helps the cable slide smoothly into the swage terminal.
Insert the Cable
Carefully insert the cable into the swage terminal. Make sure it goes all the way in. You might need to use a little force, but don't overdo it. If the cable doesn't go in easily, double - check the cable and terminal dimensions. There could be a size mismatch.
Swaging
Once the cable is inserted, it's time to use the swaging tool. Place the terminal and cable assembly in the tool's dies. Make sure it's centered properly. Then, apply the swaging force according to the manufacturer's instructions. Don't rush this step. Take your time to ensure a uniform swage around the terminal.
Check the Swage
After swaging, check the terminal again. Measure the swaged diameter. It should match the specifications provided by the manufacturer. If it's too big or too small, the terminal might not be seated properly. You may need to adjust the swaging tool or start over with a new terminal.
Post - installation Checks
Even after you've seated the swage terminal, you're not done yet.
Tension Test
Perform a tension test on the cable. This helps you determine if the terminal is holding the cable securely. Apply a moderate amount of tension to the cable and check for any movement or slippage at the terminal. If the terminal moves or the cable slips, there's a problem with the seating.
Visual Inspection
Do a final visual inspection. Look for any signs of deformation or damage to the terminal or the cable. Check the connection point for any gaps or unevenness. A well - seated terminal should look smooth and uniform.
Troubleshooting
Sometimes, things don't go as planned. Here are some common issues and how to fix them.
Loose Terminal
If the terminal is loose, it could be due to an improper swage. Check the swaging tool and the dies. You might need to re - swage the terminal using the correct settings. If the problem persists, it could be a problem with the cable or the terminal itself.
Uneven Swage
An uneven swage can cause the terminal to seat incorrectly. This is often due to worn - out dies or improper positioning in the swaging tool. Replace the dies if they're worn, and make sure the terminal is centered properly during swaging.
Maintenance and Long - term Performance
To keep the swage terminal seated properly over time, you need to do some maintenance.
Regular Inspections
Periodically inspect the swage terminals and the cables. Look for signs of corrosion, wear, or damage. If you notice any issues, address them immediately.
Cleaning
Clean the terminals and cables regularly. Use a mild cleaner to remove dirt, debris, and any corrosive substances. This helps prevent damage and keeps the connection strong.
Conclusion
Ensuring that the swage terminal is properly seated is a multi - step process that requires attention to detail. From pre - installation checks to post - installation maintenance, every step matters. By following these guidelines, you can ensure a secure and reliable connection in your cable railing system.
If you're in the market for high - quality swage terminals, we've got you covered. We offer a wide range of swage terminals, including the Dome Head Invisible Receiver And Swage Stud, Swage Eye Terminal, and Drop Pin Swage Stud. Contact us to discuss your specific needs and start a purchase negotiation. We're here to help you get the best swage terminals for your project.
References
- "Cable Railing Installation Guide" - Industry standard guide for cable railing systems.
- Manufacturer's manuals for swage terminals and swaging tools.